

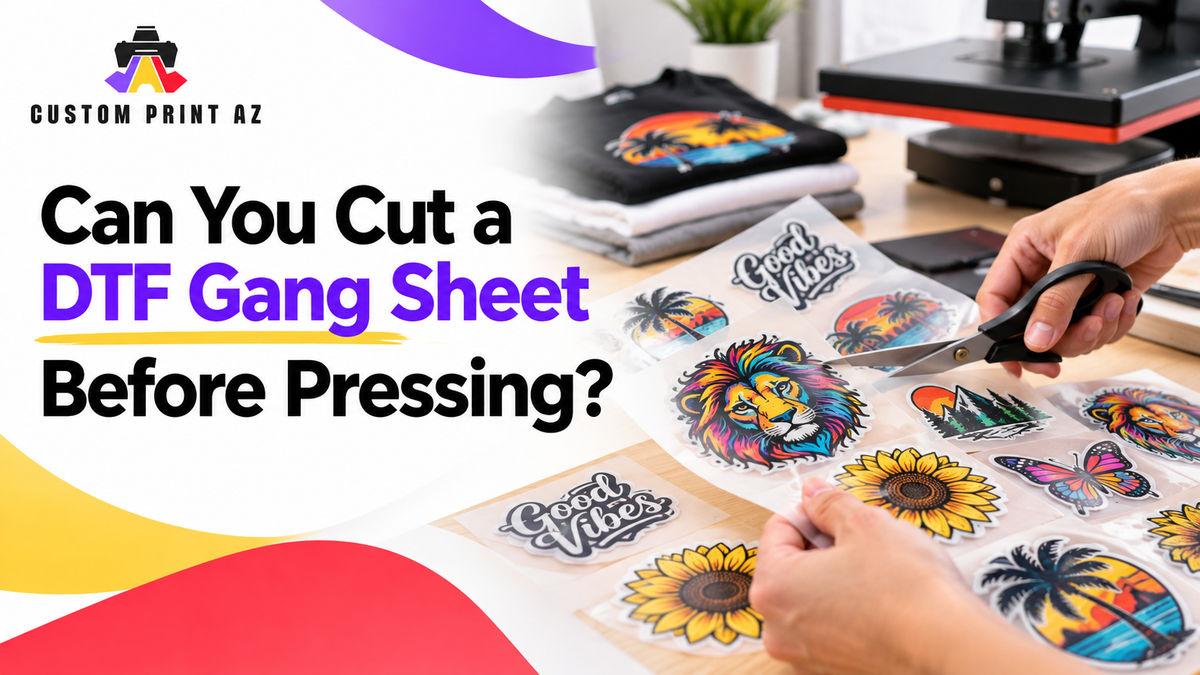
You do not have to press every design on a printed DTF gang sheet as one large piece. A gang sheet combines multiple transfers on one production sheet. During application, you can prepare those designs as separate pieces. Each piece can then match its intended garment or placement.
The important part is not simply cutting the sheet. You also need to keep every transfer easy to identify. Repeated artwork, different designs, and front-and-back sets can become confusing after separation. A simple sorting plan keeps the workflow clear before pressing begins.
This guide covers what happens after a DTF gang sheet has been printed. You will learn how to separate pieces, group designs, check quantities, and prepare transfers for pressing.
A DTF Gang Sheet Is a Production Format, Not One Application Unit
A DTF gang sheet may arrive as one large printed sheet. That does not mean every design must be pressed together. The sheet is a production format that holds multiple transfers in one place. During application, you usually work with one transfer or one related group at a time.
This distinction answers a common question. Yes, you can separate a gang sheet before pressing. The full printed sheet is one production unit. The individual transfer piece is the application unit you use on a garment.
Think of separation as a preparation step. You are not simply making the sheet smaller. You are turning one printed format into clear, usable transfer pieces.
Identify Every Design Before Cutting the DTF Gang Sheet
Review the entire DTF gang sheet before you start cutting. Identify each artwork and note which designs repeat. Also check whether any pieces belong together.
For example, one sheet may include a front logo, a back graphic, and several repeated icons. Do not cut everything into loose pieces immediately. First, understand the visual groups and how you plan to use them.
Before separation, confirm these details:
- How many different designs appear on the sheet
- How many times each design repeats
- Which designs are intended to be used together
- Which pieces belong to a specific garment or application step
You do not need a complex job-ID system. The goal is simple. Keep each piece easy to recognize after the original sheet is no longer intact.
Protect the Artwork While Cutting a DTF Gang Sheet
Once you identify the designs, you can separate the printed sheet into individual transfer pieces. Check any product-specific handling instructions before cutting. The main goal is to protect the artwork you plan to apply.
Work with the actual layout in front of you. Watch where each printed design begins and ends. Avoid cutting through the artwork itself. Also avoid unnecessary bending or rough handling during separation.
There is no universal trim margin for every DTF gang sheet. Layouts can differ from one sheet to another. Artwork spacing can also vary. Product-specific instructions may differ as well.
For that reason, do not treat one cutting distance as a universal DTF standard. Use the visible sheet layout and any applicable product instructions instead.
This stage is also different from layout optimization. The sheet has already been printed. You are not deciding how many designs can fit. You are preparing the existing designs for application.
Keep Repeated Copies Together After Cutting a DTF Gang Sheet
A DTF gang sheet may contain several copies of the same artwork. Keep those copies together after separation. This makes the next stage easier to manage.
For example, one logo may appear many times on the same sheet. Place those transfers in one clear group. You will not need to search through unrelated pieces during pressing.
If the same artwork appears in different sizes, keep those size variations separate. Similar artwork can look nearly identical at a glance. Clear grouping reduces confusion.
The key distinction is between quantity and identity. Five copies of one logo are not five different designs. They are five application units of the same artwork.
Pair Front and Back Transfers That Belong Together
Some apparel jobs use more than one transfer on the same garment. A front logo and back graphic are a common example. Other jobs may use a main design plus a smaller secondary graphic.
Keep related pieces together after cutting the sheet. This makes the intended pairing obvious before pressing starts.
You do not need to physically attach those transfers. Simply keep them in the same work group. That prevents you from rebuilding the correct pairing at the press.
This step is useful when several designs look similar. It is also useful when one garment needs multiple transfer pieces. Match the pieces while you can still review the full job.
Check Quantities After the DTF Gang Sheet Is Separated
Quantities are often easier to see while every design remains on one sheet. Small pieces can become harder to track after separation.
Count each design group before pressing begins. The purpose is not to create a new production-management system. You are simply confirming that every expected transfer remains accounted for.
If one artwork appeared eight times, verify that eight pieces are still in its group. This helps you spot a misplaced transfer before application begins.
A quantity check also helps with size variations. Similar designs may use different physical dimensions. Keep those versions separate and count them independently.
Arrange DTF Transfer Pieces in Pressing Order
Separating the sheet gives you another practical advantage. You can arrange the transfers in the order you will use them.
Do not leave every cut piece in one mixed pile. Instead, prepare the pieces around the natural sequence of the job.
Keep related front-and-back transfers together. Keep repeated designs in one group. If one design will be pressed several times, place those copies where they are easy to reach.
This article does not cover heat press temperature, time, or pressure. Those variables belong to separate application instructions. Here, the goal is organization before pressing.
Keep Press Preparation Separate From Long-Term Storage
This workflow covers a gang sheet that will be used soon. Long-term storage is a different handling question. Do not treat short-term sorting and long-term storage as the same problem.
A Simple Post-Print DTF Gang Sheet Workflow
After your DTF gang sheet has been printed or received, use a simple preparation sequence:
- Review the complete sheet and identify every design.
- Mark repeated artwork and pieces that belong together.
- Check any applicable handling instructions before separation.
- Cut the sheet into individual pieces while protecting the design areas.
- Keep repeated designs and related front-and-back pieces together.
- Count each design group before pressing.
- Arrange the transfers in the order you will use them.
This workflow keeps the transition from printed sheet to pressing stage easy to follow. It does not add unnecessary production rules. A gang sheet carries multiple transfers during production. During application, those transfers become individual working pieces again.
Frequently Asked Questions
Can you cut a DTF gang sheet before pressing?
Yes, a printed DTF gang sheet can generally be separated into individual transfer pieces. Check any product-specific handling instructions before cutting.
Do you have to press a DTF gang sheet as one piece?
No. A DTF gang sheet can contain several independent designs. Those designs can be prepared as separate transfer pieces for application.
How should I organize repeated designs after cutting?
Keep repeated copies of the same artwork in one group. This makes quantity checks easier and keeps pressing more organized.
Should front and back transfers stay together?
Yes, when they belong to the same garment or job. Grouping them together makes the intended pairing easier to follow.
Is there a specific trim margin for cutting a DTF gang sheet?
This guide does not recommend a universal trim margin. Gang sheet layouts and product instructions can differ. Use the actual layout and relevant handling guidance.
Move From Printed DTF Gang Sheet to Press-Ready Pieces
Separating a gang sheet is part of the move from production format to application workflow. The goal is not just to make cuts. You also need to preserve design identity, quantity, and grouping.
If you are preparing a print-ready file before production, use the Upload Gang Sheet option. That step belongs earlier in the workflow. After printing, your focus shifts to separation and press preparation.
Review the gang sheet first. Separate the pieces carefully. Then check the design groups, quantities, and application order. This gives you a clear set of press-ready transfers instead of a mixed pile.


