

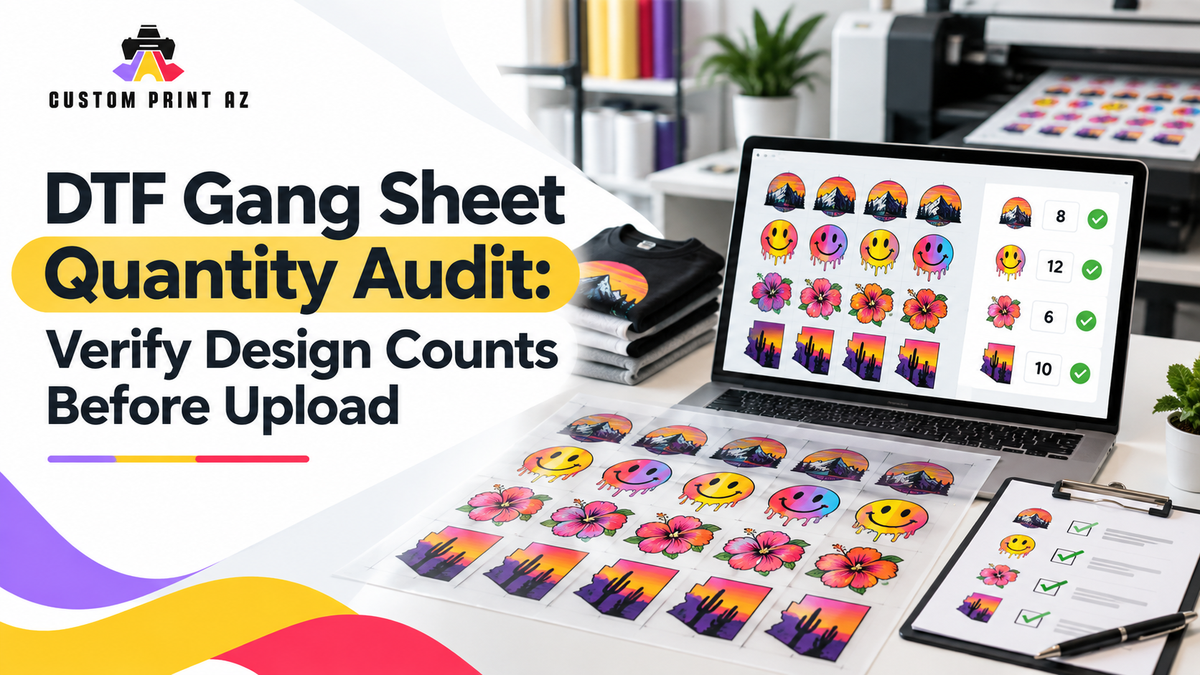
A DTF gang sheet can look complete and well organized on screen while still containing the wrong number of transfers. A logo that should appear 12 times may only appear 11 times. Another design may have been repeated one extra time. Small and large versions of the same artwork can also be easy to mix together during a quick visual revie
That is why a final layout check should include more than artwork quality, sheet boundaries, or available space. A separate quantity audit lets you compare the transfer counts you planned with the number of copies that actually appear on the final sheet.
This guide does not explain how many transfers you should order. It assumes that decision has already been made. The narrower question is: Does your final DTF gang sheet actually contain the quantities you already decided you need?
Separate Required Quantity From Actual Layout Count
A useful quantity audit starts with two different numbers.
- Required quantity: the number of transfers needed for the job or order.
- Actual layout count: the number of copies that actually appear on the final gang sheet.
Do not assume those numbers match simply because the layout looks finished.
For example, imagine your production plan calls for 20 copies of Logo A, 12 copies of Graphic B, and 8 copies of Sleeve Mark C. Once the layout is complete, count each design separately instead of judging the sheet by how full or balanced it looks.
If the final count is 19 copies of Logo A, 12 copies of Graphic B, and 9 copies of Sleeve Mark C, the sheet may still look perfectly normal. Numerically, however, it does not match the planned production quantities.
Count Different Sizes as Separate Production Items
One of the easiest quantity mistakes happens when the same artwork is used at more than one final print size.
A logo might appear as a smaller version for one application and a larger version for another. The artwork may look almost identical, but the two sizes are not interchangeable during a quantity audit.
Instead of tracking only the artwork name, pair the artwork with its size or another meaningful production identifier.
A simple audit list might look like this:
- Logo A — small — required 20
- Logo A — large — required 10
- Graphic B — required 12
- Sleeve Mark C — required 8
If Logo A appears 30 times in total, that does not automatically mean the quantity is correct. You still need to confirm that 20 are the small version and 10 are the large version.
Placement should only be used as another identifier when it genuinely represents a different production item. The goal is not to turn the audit into a placement-planning exercise.
Start With the Required Quantity List
On a busy gang sheet, simply looking at the entire layout and trying to count everything at once can become confusing. A more controlled approach is to work through the required quantity list one line at a time.
- Select the first artwork or artwork-size variant.
- Confirm the required quantity.
- Count only that item on the final sheet.
- Record the actual layout count.
- Compare required and actual quantities.
- Move to the next item only after the first one has been checked.
This turns the audit into a repeatable reconciliation process instead of relying on visual memory.
It can be especially useful when the gang sheet includes several designs that look similar or when one artwork is repeated many times across different areas of the sheet.
Do Not Confuse File Count With Design Count
The number of files in your source folder is not the number you are auditing.
One artwork file may appear 15 times on the final sheet. A folder may also contain multiple similarly named files that are not all intended for production.
The quantity audit should focus on the actual transfer instances present in the final production layout.
Artwork version management is a separate issue. Quantity reconciliation begins after you have already identified the correct artwork version and now need to confirm that it appears the correct number of times.
Separate Similar Variants Before You Count
Two artwork variants can look nearly identical at normal zoom. If they use the same logo but differ in size or another production-relevant detail, a quick count may combine them accidentally.
Before counting, decide what distinguishes each production item. Depending on the job, that may include:
- final print size,
- approved artwork version,
- a visible design variation,
- or another job-specific identifier.
Do not group similar artwork into one total unless the production requirement also treats them as one item.
The purpose of the audit is to match each line of the required quantity list with the correct group of transfers on the final sheet.
Missing Copies and Extra Copies Are Both Mismatches
A quantity error is not limited to missing transfers. An extra copy also means the final layout does not match the quantity plan.
For example, if 12 copies are required and the final layout contains 11, the sheet is short by one. If the layout contains 13, it is over by one.
In either case, the simplest audit standard is:
Required quantity = Actual layout count
If those numbers do not match, investigate the difference before submission.
This keeps the article focused on final quantity accuracy rather than predicting what may happen later during pressing or production.
Recount After Making a Correction
When you find a quantity mismatch, you may need to add or remove a copy. Do not assume the issue is resolved simply because the layout was edited.
Recount the corrected design after the change.
If the adjustment caused other artwork to be moved or changed, review the affected items as well. The final audit should be performed on the actual layout that will be submitted, not on an earlier preview or a previous export.
This matters because quantity accuracy belongs to the final file, not to the version you checked several edits ago.
Use a Simple Required-vs-Actual Reconciliation List
A quantity audit does not require a complicated tracking system. For many jobs, four pieces of information are enough:
- artwork or design name,
- size or relevant variant,
- required quantity,
- actual layout count.
For example:
- Logo A — small — required 20 — actual 20
- Logo A — large — required 10 — actual 10
- Graphic B — required 12 — actual 11
- Sleeve Mark C — required 8 — actual 8
In this example, you do not need to reconsider the entire gang sheet. Graphic B is the only line that does not reconcile.
After correcting the layout, recount Graphic B and update the actual count. That turns a vague visual review into a specific, measurable check.
Count in Sections When the Sheet Is Dense
Large or densely populated gang sheets can make repeated artwork difficult to count in one pass.
In that situation, divide the sheet into temporary visual sections and count in a consistent direction. You might review from top to bottom or from left to right.
If the same design appears in several sections, record a subtotal for each section and combine the subtotals at the end.
This is not a production specification. It is simply a practical counting method that may reduce the risk of skipping an area or counting the same copy twice.
Do Not Turn the Audit Into a Layout-Efficiency Exercise
Quantity auditing and layout optimization are different tasks.
If your required quantity is 12 and you confirm that 12 copies are present, seeing additional empty space does not mean a 13th copy should automatically be added.
The purpose of this check is not to fill every available area of the sheet. It is to confirm that the previously determined production requirement has been represented correctly.
Adding additional artwork because space remains would be a new quantity decision, not part of the audit itself.
Keeping those two decisions separate prevents the final review from drifting back into general gang-sheet planning.
Audit the File You Will Actually Upload
A quantity check only protects the final order if the file being submitted is the same file that was audited.
After the reconciliation is complete, confirm that you are working with the final production version.
If you already have a completed layout, review the actual count one last time before moving to the Upload Gang Sheet route.
If you are creating the layout through the DTF Gang Sheet Builder, repeat the quantity check after your final layout changes.
No special builder behavior needs to be assumed here. The same rule applies either way: the final visible layout should match the final required quantity list.
Final Quantity Audit Checklist Before Upload
- Does every artwork have a defined required quantity?
- Are different size variants tracked separately?
- Did you count the actual copies of each item on the final layout?
- Does every required quantity match its actual layout count?
- Is any design missing a copy?
- Does any design have an extra copy?
- Were similar artwork variants kept separate during counting?
- Did you recount any design that was corrected?
- Is the audited layout the same final file you are about to submit?
This checklist does not replace quantity planning. It assumes the required quantities are already correct and focuses only on whether those requirements were transferred accurately into the final gang sheet.
A Final Gang Sheet Should Be Numerically Correct Too
A clean, balanced gang sheet may look production-ready, but visual completeness and quantity accuracy are not the same thing.
Before upload, compare the required quantity with the actual layout count for every design and relevant size variant.
The process is simple: open the required quantity list, count each production item on the final sheet, compare the two numbers, and correct any mismatch before submission.
This additional checkpoint does not require you to re-plan the order or rebuild the entire layout. It simply verifies that the finished gang sheet accurately represents the quantities you already decided to produce.


