

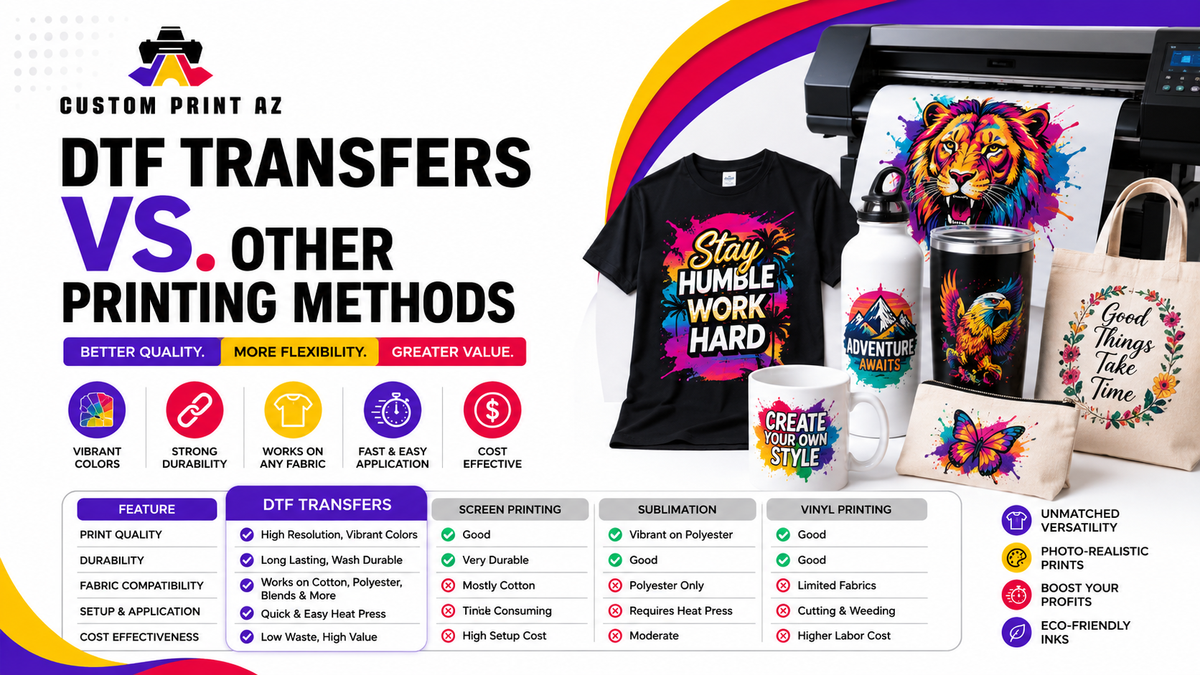
Getting consistent results with DTF transfers depends on more than the transfer itself. Artwork quality, final print size, garment preparation, heat-press setup, placement, peeling, and finishing all affect the completed apparel.
The goal is not to follow one universal setting for every garment. Instead, use the instructions provided for the transfer you are applying, confirm that the garment is compatible, and control the variables that can affect application from one press to the next.
This guide covers the practical checks that can help apparel decorators, businesses, and creators improve consistency when working with ready-to-press DTF graphics.
Table of Contents
- 1. Start With Print-Ready Artwork
- 2. Check the Final Transfer Size
- 3. Match the Transfer to the Garment
- 4. Prepare the Garment Before Pressing
- 5. Keep Placement Consistent
- 6. Follow the Correct Pressing Instructions
- 7. Use the Correct Peel Method
- 8. Finish the Transfer Correctly
- 9. Test Before Larger Production Runs
- 10. Build a Repeatable DTF Workflow
1. Start With Print-Ready Artwork
Good DTF results begin before the transfer reaches the heat press. Review the artwork at its intended print size rather than judging it only at a large size on a computer screen.
Check small text, thin lines, fine details, transparent edges, spelling, and the overall proportions of the design. Low-resolution artwork can become visibly soft or pixelated when enlarged, while unwanted background pixels may appear around an otherwise clean graphic.
If you need completed transfers rather than producing them in-house, explore DTF transfers from Custom Print AZ.
Artwork check: Zoom out to approximately the intended physical print size and confirm that small details and lettering are still clear enough for the garment placement.
2. Check the Final Transfer Size
A design can look balanced on a screen but appear too small or too large once placed on a garment. Measure the usable print area before ordering or pressing.
Consider collars, seams, pockets, zippers, sleeve construction, and the size of the garment. A left-chest logo requires a different visual scale from a full-front or back graphic.
When ordering individual graphics according to their dimensions, review the available DTF Transfers by Size.
3. Match the Transfer to the Garment
Different garments can react differently to heat and pressure. Before production, confirm that the fabric and garment construction are suitable for the application instructions associated with the transfer.
Pay particular attention to sensitive fabrics, coated garments, raised seams, zippers, buttons, pockets, and other areas that may prevent the heat press from applying even pressure.
4. Prepare the Garment Before Pressing
Place the garment flat on the press and remove wrinkles or folds from the application area. Make sure the surface is clean and positioned so seams or bulky construction do not interfere with pressure.
If the transfer instructions call for a pre-press, follow that guidance before positioning the artwork. The purpose is to create a stable, flat application area rather than relying on one universal pre-press time for every garment.
5. Keep Placement Consistent
Consistent placement becomes especially important when decorating multiple garments for a business, team, event, or repeat order.
Choose a repeatable reference point such as the collar, center line, pocket, or garment seam. Confirm both vertical and horizontal alignment before pressing.
For larger orders containing multiple designs, gang sheets can help organize repeated graphics before application. Review the DTF Gang Sheet Builder when planning several graphics together.
6. Follow the Correct Pressing Instructions
Temperature, time, and pressure work together during application. Avoid assuming that one setting is correct for every transfer, garment, and heat press.
Use the instructions provided for the transfer you are applying and confirm that your heat press is operating consistently. Uneven pressure, an inaccurate temperature reading, or an application area that does not sit flat can affect the result even when the displayed settings appear correct.
Production tip: Record the transfer type, garment, placement, application settings, and result when testing a new combination. This creates a useful reference for repeat orders.
7. Use the Correct Peel Method
Do not assume every transfer uses the same peel method. Depending on the transfer system, the carrier may require an immediate, warm, or cooled peel.
Follow the applicable instructions and peel the carrier smoothly rather than pulling aggressively across the design. If part of the graphic does not appear to have transferred correctly, stop and review the application process before continuing with the full production run.
8. Finish the Transfer Correctly
Some DTF application workflows include a finishing press after the carrier has been removed. When required by the transfer instructions, use the recommended protective sheet, time, pressure, and finishing procedure.
Avoid treating a second press as a universal requirement with one fixed setting. The correct finishing method should match the transfer and garment being used.
9. Test Before Larger Production Runs
When working with a new garment, transfer, fabric blend, or press setup, test the combination before processing a large order.
A short production test can reveal placement issues, unexpected garment reactions, pressure differences, or artwork problems while the order is still easy to adjust.
After application, inspect the design edges, small details, surface appearance, and overall placement. Keep an approved sample when consistency will matter for future reorders.
10. Build a Repeatable DTF Workflow
The best DTF results come from controlling the same variables each time rather than making decisions from memory during every order.
- Keep the approved artwork file.
- Record the final transfer dimensions.
- Document the garment and placement.
- Use the applicable pressing instructions.
- Record successful production settings when appropriate.
- Keep a reference sample for important repeat orders.
For businesses that prefer ready-to-press graphics instead of managing the transfer-printing process themselves, browse custom DTF transfer options from Custom Print AZ.

